Have you ever wondered how to create a game on Scratch? Scratch is an amazingly versatile platform developed by MIT to help kids and beginners learn the fundamentals of programming through game design. This article will guide you through the steps to make your own game on Scratch, no coding experience necessary!
What is Scratch?
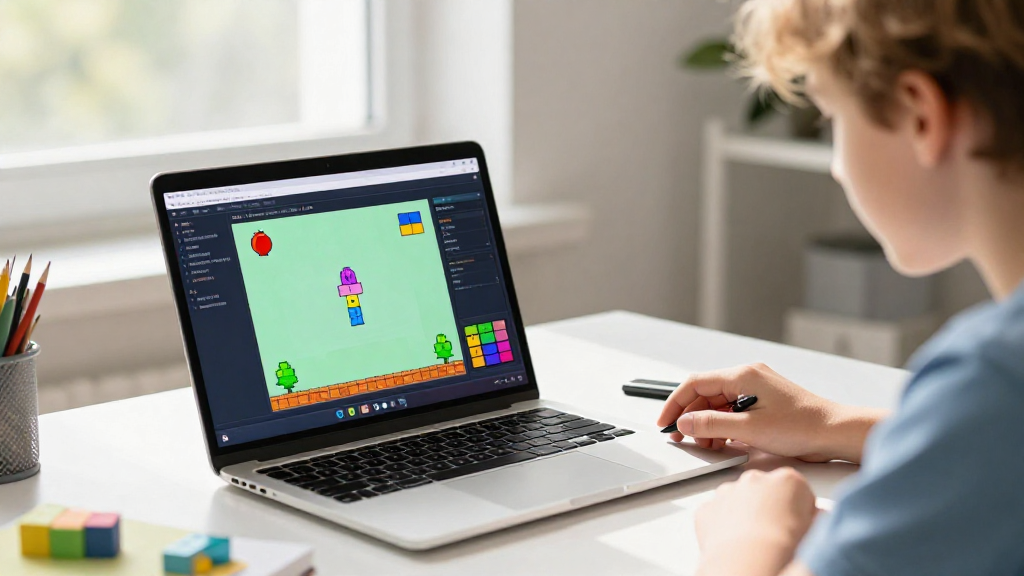
Scratch is a block-based visual programming language that allows users to create interactive stories, animations, and games.
It uses easy-to-understand blocks that you can snap together, making it more accessible than traditional programming languages.
Key features of Scratch include:
- User-friendly interface: Perfect for beginners.
- Wide community: Share your games and get feedback.
- Rich resources: A plethora of tutorials, assets, and examples.
Now that you understand what Scratch is, let’s dive into how to create a game on Scratch step by step.
How Do You Start Building a Game?
Step 1: Create an Account on Scratch
- Visit Scratch’s website: Go to scratch.mit.edu.
- Sign up: Click on the ‘Join Scratch’ button and fill in the required details. Having an account allows you to save your projects.
- Explore: Browse existing projects and find inspiration. You can learn a lot from seeing what others have created.
Step 2: Start a New Project
- Once logged in, click on “Create” in the top menu.
- You’ll be taken to the Scratch editor, where you can start crafting your game.
What Components Do You Need in Your Game?
To successfully learn how to create a game on Scratch, familiarize yourself with the essential components.
-
Sprites: These are the characters or objects in your game.
– You can create your own or choose from Scratch’s library. -
Backdrops: Set the stage by choosing backgrounds for your game.
– Like sprites, you can find these in the Scratch library or even upload your own. -
Sound Effects: Enhance your game’s experience with sounds.
– Scratch provides a collection of sounds, or you can record your own. -
Scripts: These are the sets of instructions that dictate how sprites behave.
– Drag and drop code blocks to create interactions.
How Do You Make Your Game Interactive?
Step 3: Adding Scripts to Your Sprites
To bring your game to life, you’ll need to add coding blocks to your sprites. Here’s how:
- Select a Sprite: Click on the sprite you want to work with.
- Choose a Code Block Category:
– Motion: Move your sprite.
– Looks: Change how your sprite appears.
– Sound: Play sounds during gameplay.
– Events: Start actions based on specific triggers (like clicking).
– Control: Use loops and conditionals to control game flow. - Drag and Drop Blocks: Assemble the blocks in the script area to create the desired behavior.
Example Scripts
- Moving a Sprite with Arrow Keys:
-
Use an
eventblock that detects key presses and amotionblock to move the sprite accordingly. -
Simple Scorekeeping:
- Create a variable for the score and increment it when a specific event occurs (e.g., collecting an item).
How Should You Design Your Game Levels?
Step 4: Level Design
Level design is crucial for creating an engaging experience. Follow these tips:
- Start Simple: Begin with an easy level that allows players to grasp the game mechanics without frustration.
- Gradually Increase Difficulty: Introduce new challenges, enemies, or puzzles in subsequent levels to keep players engaged.
- Use Backdrops Wisely: Change backdrops to signify different levels, and ensure each stage looks unique.
- Test Your Game: Play through your game multiple times to identify any issues and ensure it flows well.
What Final Touches Should You Add?
Step 5: Enhance Your Game
To make your game stand out, consider these enhancements:
- Graphics: Create or select appealing graphics that resonate with your theme.
- Sound Effects: Use sound effects appropriately to create atmosphere and feedback.
- Instructions: Provide a brief set of instructions that guides players on how to play your game.
How Do You Share Your Game?
Step 6: Share Your Project
Once you’re satisfied with your game, it’s time to share it with the world!
- Click on the ‘Share’ Button: Make your project public for others to see.
- Write a Description: Provide a brief overview of your game, including controls and any special features.
- Tag Your Project: Use relevant tags to help others find your game in searches.
Step 7: Gather Feedback
Encourage others to play your game and leave comments.
Feedback is invaluable for learning how to create a game on Scratch more effectively.
Consider these suggestions and make improvements based on user experiences.
How Do You Continue Improving Your Skills?
Step 8: Learn from the Community
Scratch has a vibrant community where you can further develop your skills:
- Explore Other Projects: Check out games and animations created by others.
- Join Discussions: Participate in forums to ask questions and share tips.
- Attend Workshops: Look for online or local workshops that focus on Scratch programming.
Step 9: Experiment and Iterate
The best way to learn is through practice.
Keep experimenting with different game mechanics, styles, and storytelling techniques.
Conclusion: Embrace Your Creativity
Now you know how to create a game on Scratch!
Don’t let these steps hold you back—experiment, be creative, and have fun.
Scratch is all about exploration and learning, so take those skills and build something truly unique!
As you grow more comfortable with the platform, you’ll discover endless possibilities.
So, what are you waiting for? Get started on your next big gaming adventure in Scratch today!